A New Start; It Is 2022!
I had no idea that Dr. Mary loved to garden until I first went to her house and she showed me her vegetable garden. A few weeks later, Mary came to my Kensington home and saw my garden and she just loved it.

I had gardened for years but in 2014 I decided I was too old to get down and pull weeds on my hands and knees so I did a major redesign which you can see here. The old garden got underway on 10/17/2014.
After Sue passed and Mary and I joined together, we bought a new home and it had a huge lot but no garden. This could not be allowed.
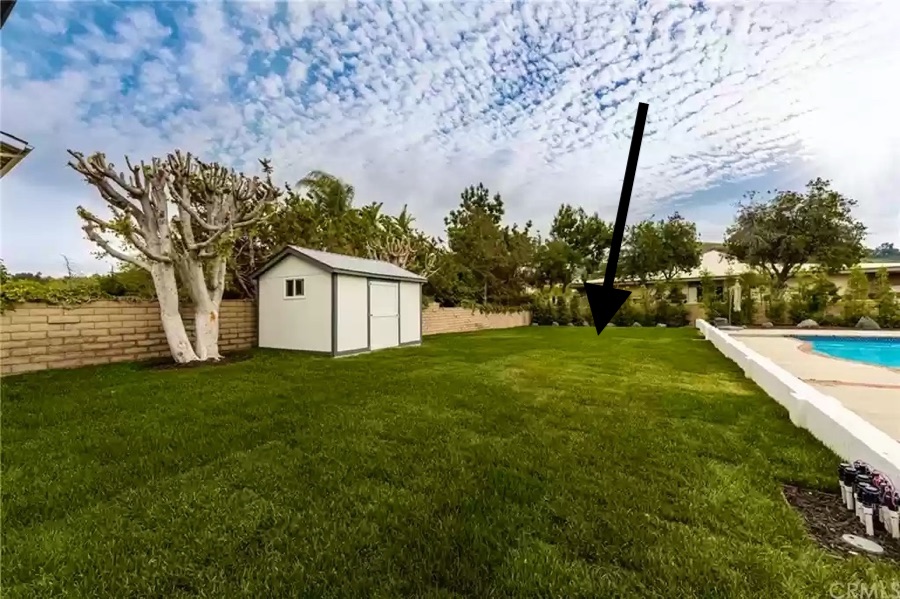
Our yard, from the patio, was 100 feet deep! We had plenty of room!!

When Mary and I decided to get married we found a home with a large yard and the location for the garden was obvious. We were in the home for a year before work got underway.
Mary had some great ideas which we incorporated into the design.
What did I do differently?
- The room between the raised beds are wide and can handle the 100 gallon trash containers plus wagons and wheelbarrows!
- There is water in every bed so I can use a hose or a drip system!
- The drip system is INTERNET ready and we can control the watering from our phones.
- The wide bed is for crops that need room like melons and corn!
- We have a outdoor wash basin, stainless-steel, for cleaning the crops before they go inside!
- We will have a potting bench adjacent to the beds for transplanting and getting thing ready to plant.
- We have a contrite pad for our outdoor storage shed for commonly used tools.
- The recontenting concrete pad will hold eight bales of straw which we use as mulch!

A little over 475 square feet!
June 28th, On The Move

Getting the Bobcat into the back yard was a trick!
Did You Know? - A skid loader, skid-steer loader, SSLs or skidsteer is a small, rigid-frame, engine-powered machine with lift arms that can attach to a wide variety of buckets and other labor-saving tools or attachments.
Skid-steer loaders are typically four-wheeled or tracked vehicles with the front and back wheels on each side mechanically linked together to turn at the same speed, and where the left-side drive wheels can be driven independently of the right-side drive wheels. This is accomplished by having two separate and independent transmissions; one for the left side wheels and one for the right side wheels. Earliest versions of skid steer loaders used forward and reverse clutch drives. Virtually all modern skid steers designed and built since the mid-1970s use two separate hydrostatic transmissions (one for the left side and one for the right side).
The wheels typically have no separate steering mechanism and hold a fixed straight alignment on the body of the machine. Turning is accomplished by differential steering, in which the left and right wheel pairs are operated at different speeds, and the machine turns by skidding or dragging its fixed-orientation wheels across the ground. Skid-steer loaders are capable of zero-radius turning, by driving one set of wheels forward while simultaneously driving the opposite set of wheels in reverse. This "zero-turn" capability (the machine can turn around within its own length) makes them extremely manoeuvrable and valuable for applications that require a compact, powerful and agile loader or tool carrier in confined-space work areas.
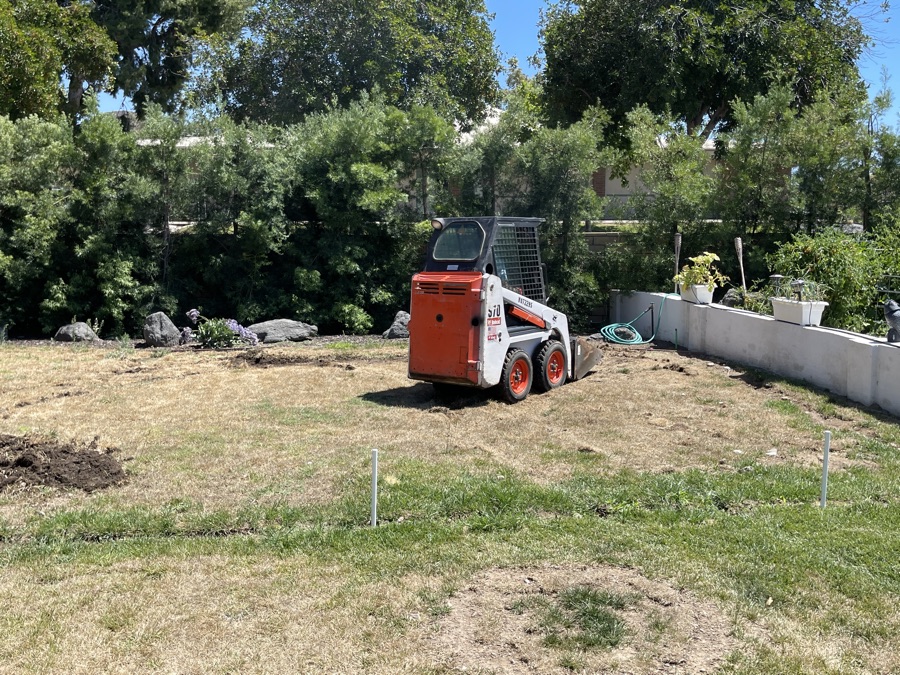
Now we get going removing about 22 cubic yards of dirt/grass
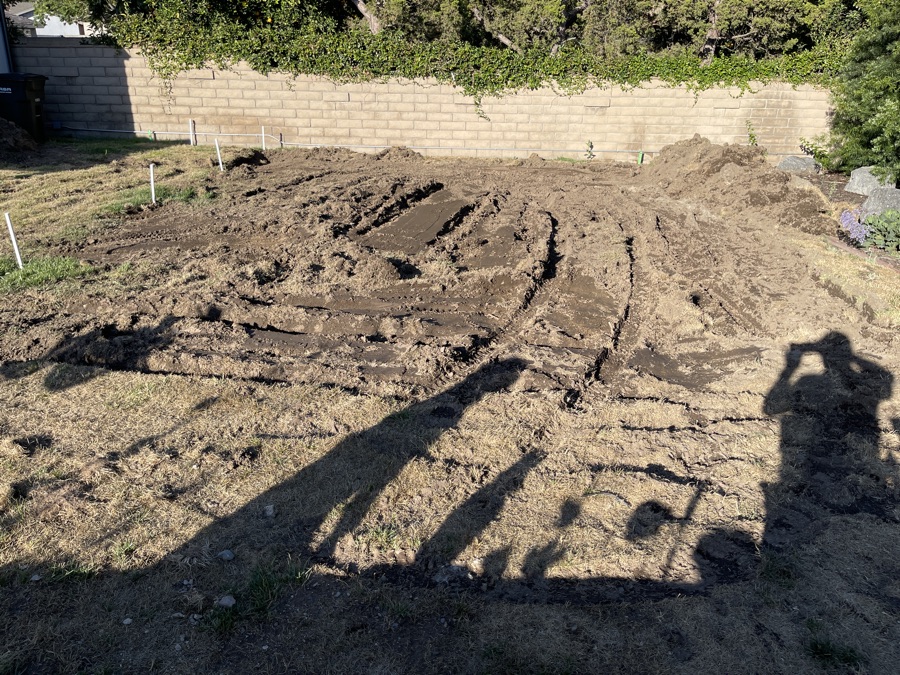
We soaked the ground for several days before the Bobcat arrived.
July 6th Marking The Lines
The lines will dictate the flow of water and we wanted to make sure we have great drainage from the patio to the back yard.

Marking the lines
July 7th, Time To Begin Digging!
The house was in a river bed and we have rocks and more rocks.
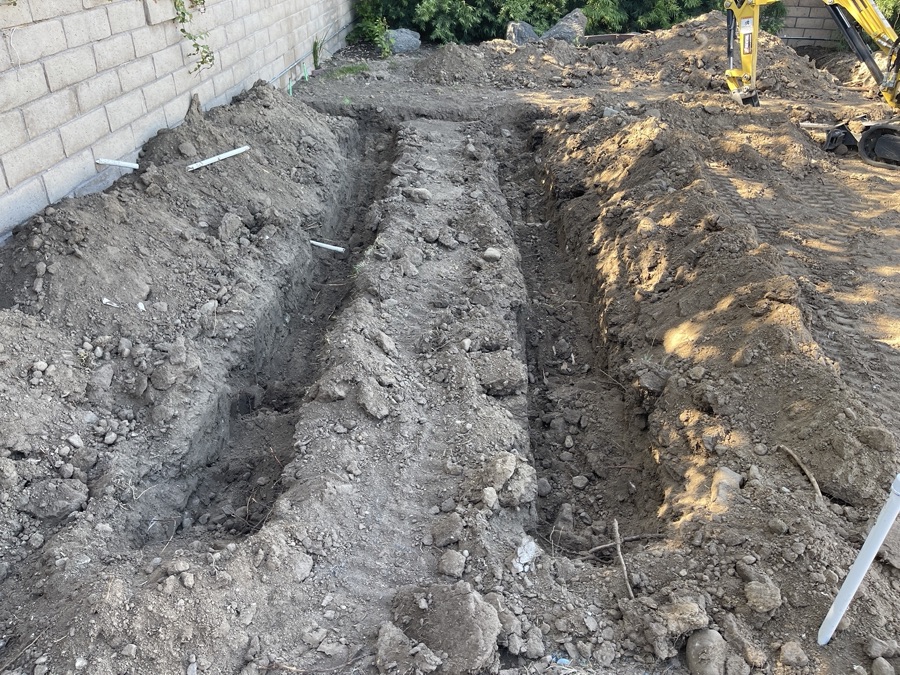
Dig baby dig
A new machine was needed for digging the foundations.
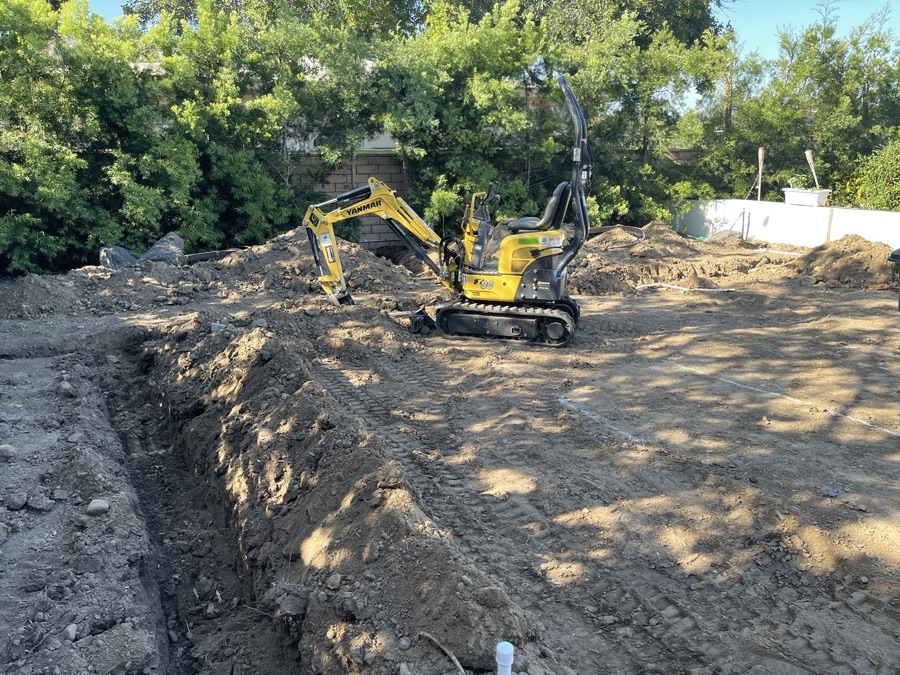
They discovered roots!
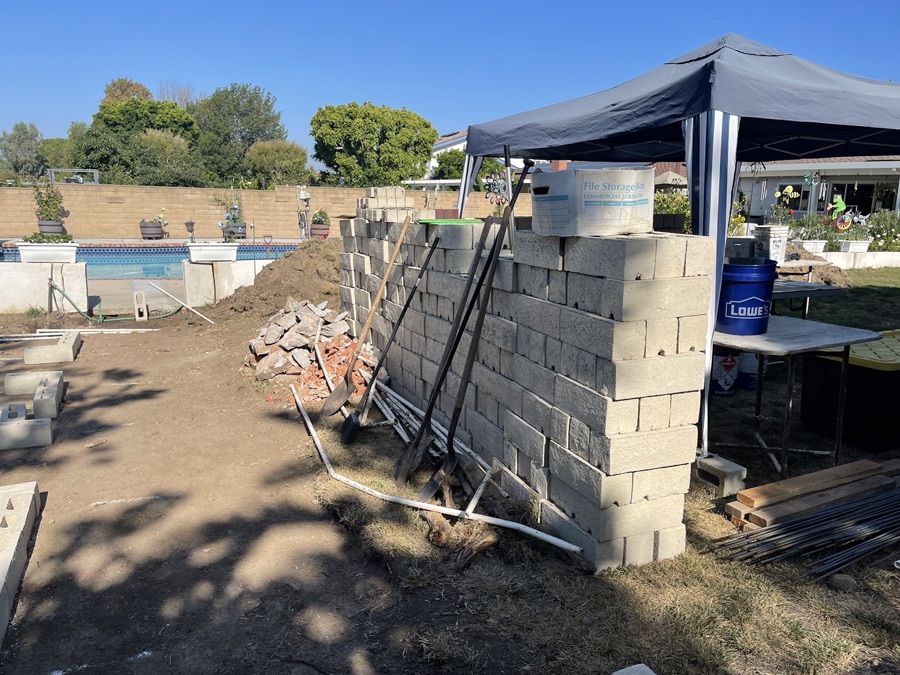
Some of the stones are delivered.

Lots of roots

Aerial of the house from the 1980s
July 11th, We Found Big Rocks!

Lots of rocks which we used in the foundation!
July 12th, Starting To Take Shape
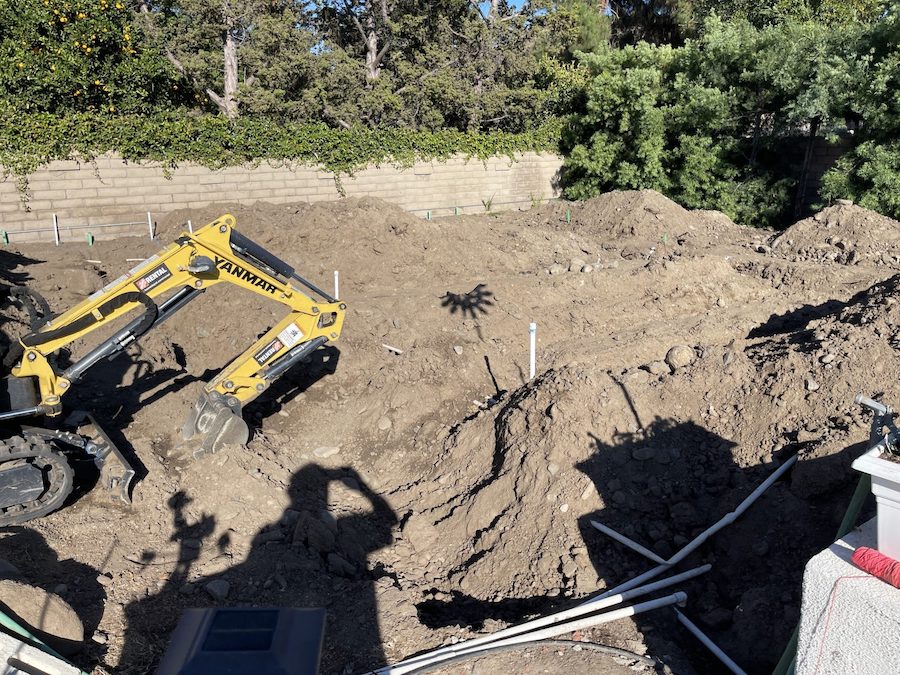
What is it going to look like, eventually?

The Kensington Garden mid-summer.
July 16th, The Beds Are Outlined
The foundations are in and the centerlines are marked. Now we make sure of the depth and get ready for the first concrete pour.
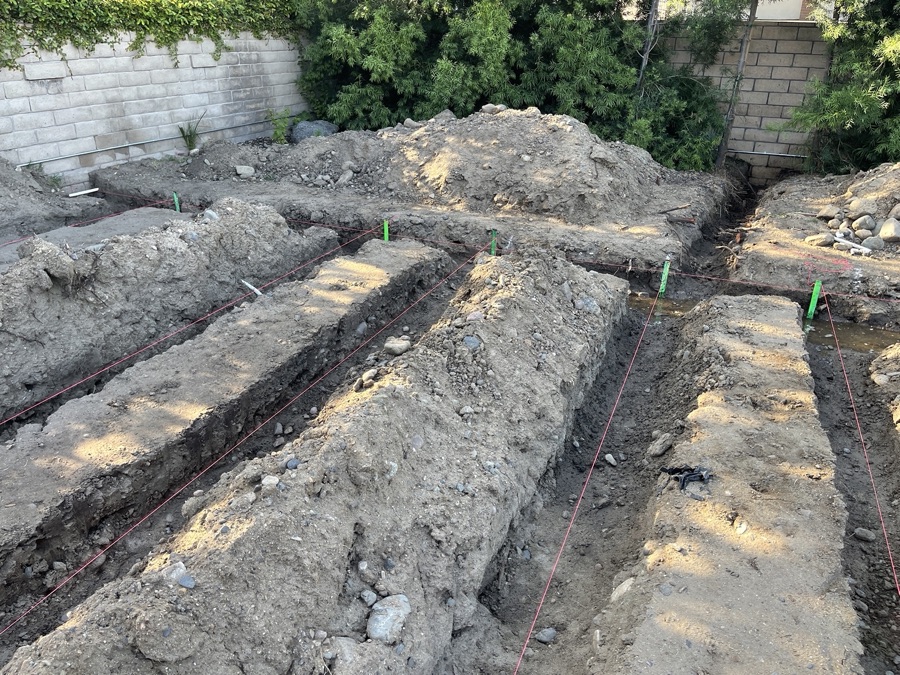
We took out almost twenty-yards of dirt!
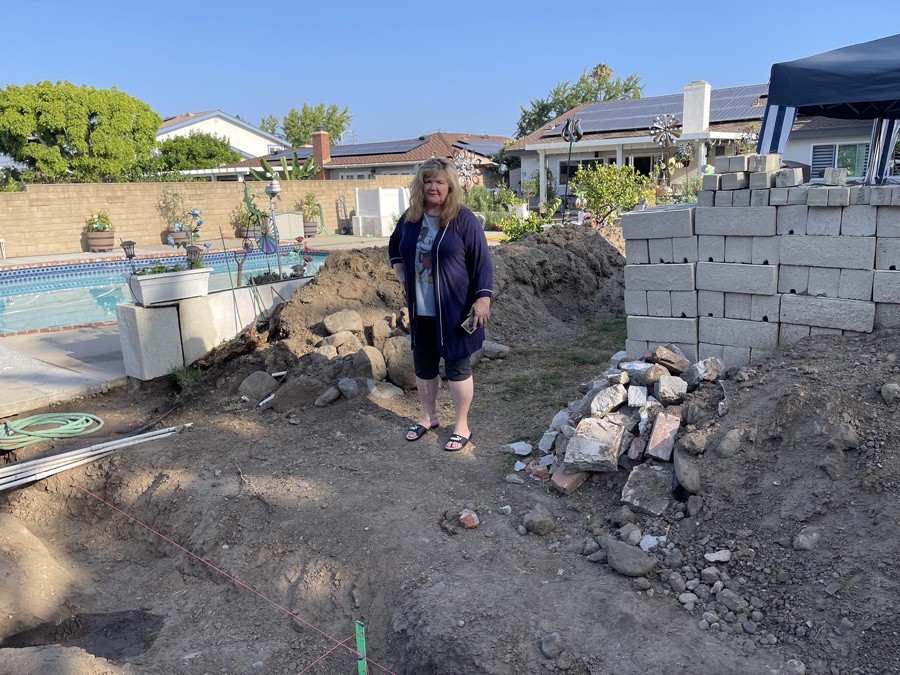
Robin does an early morning inspection!
July 22, The water Lines Are Run

Water will be available in every bed plus electrical lines to run the drip system.
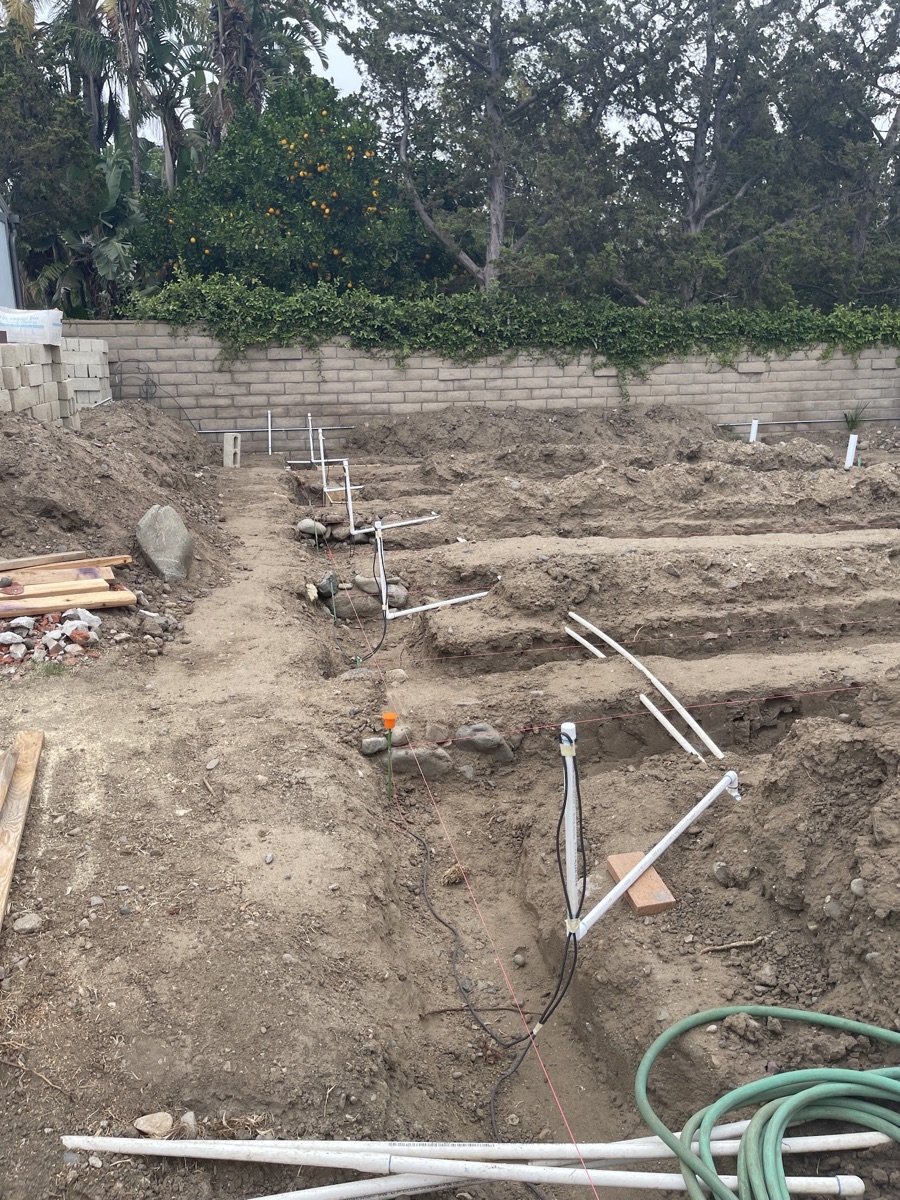
Ready for the forms.
August 8th, We Shopped For Dirt!
Dirt is not dirt. We are going to buy a special mix of top soil and organic compost. We will need about 50 yards to get started.

The soil mix is OK but it will need some additional nutrients.
August 12th, Forming Begins
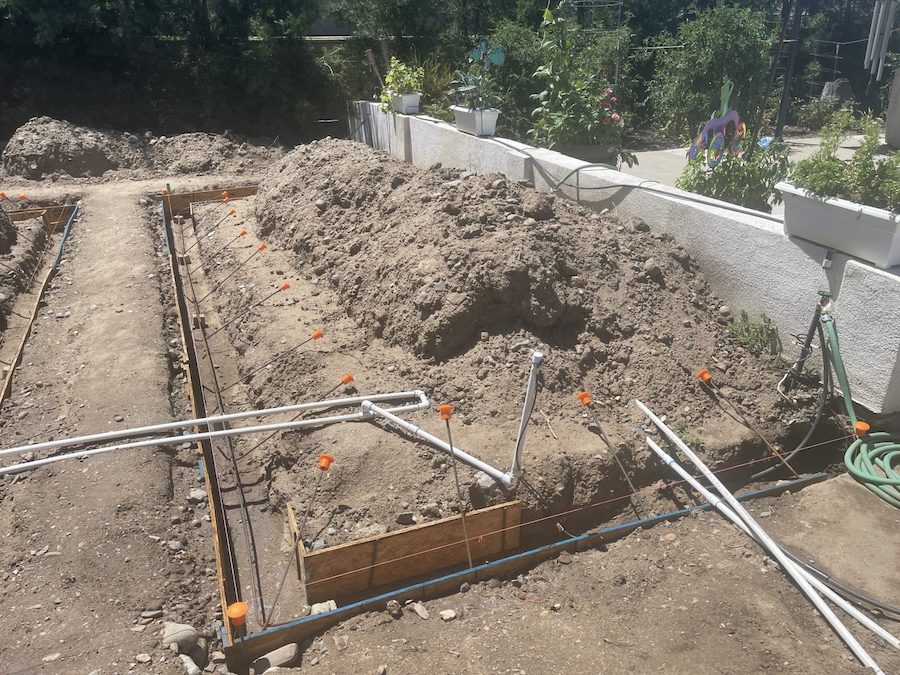
The first pour is coming.
August 13th, Here Comes Concrete Delivery #1
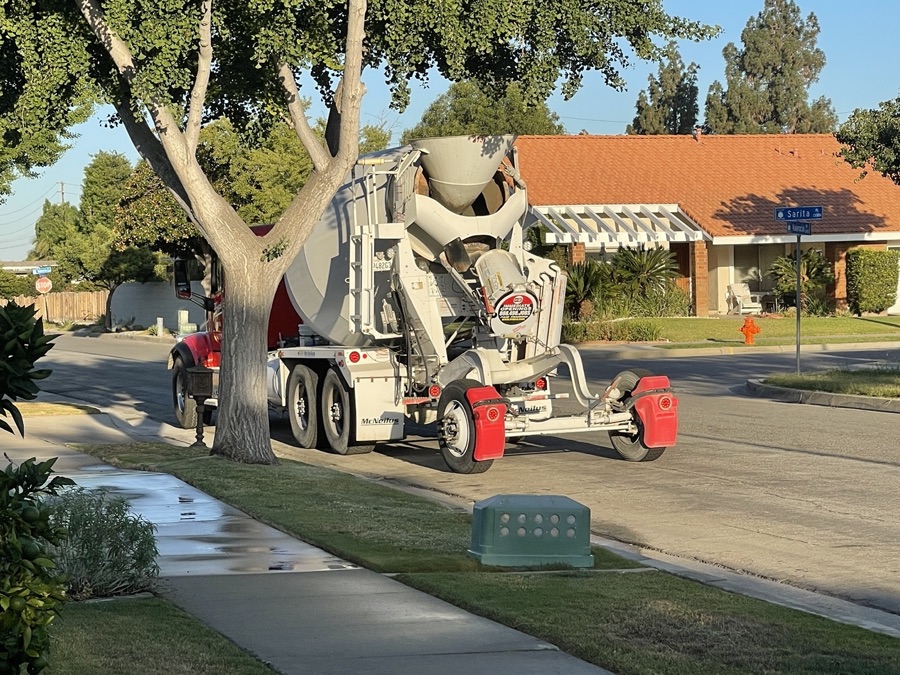
Ready-Mix is ready to go!

They had to pump the concrete almost 200 feet!
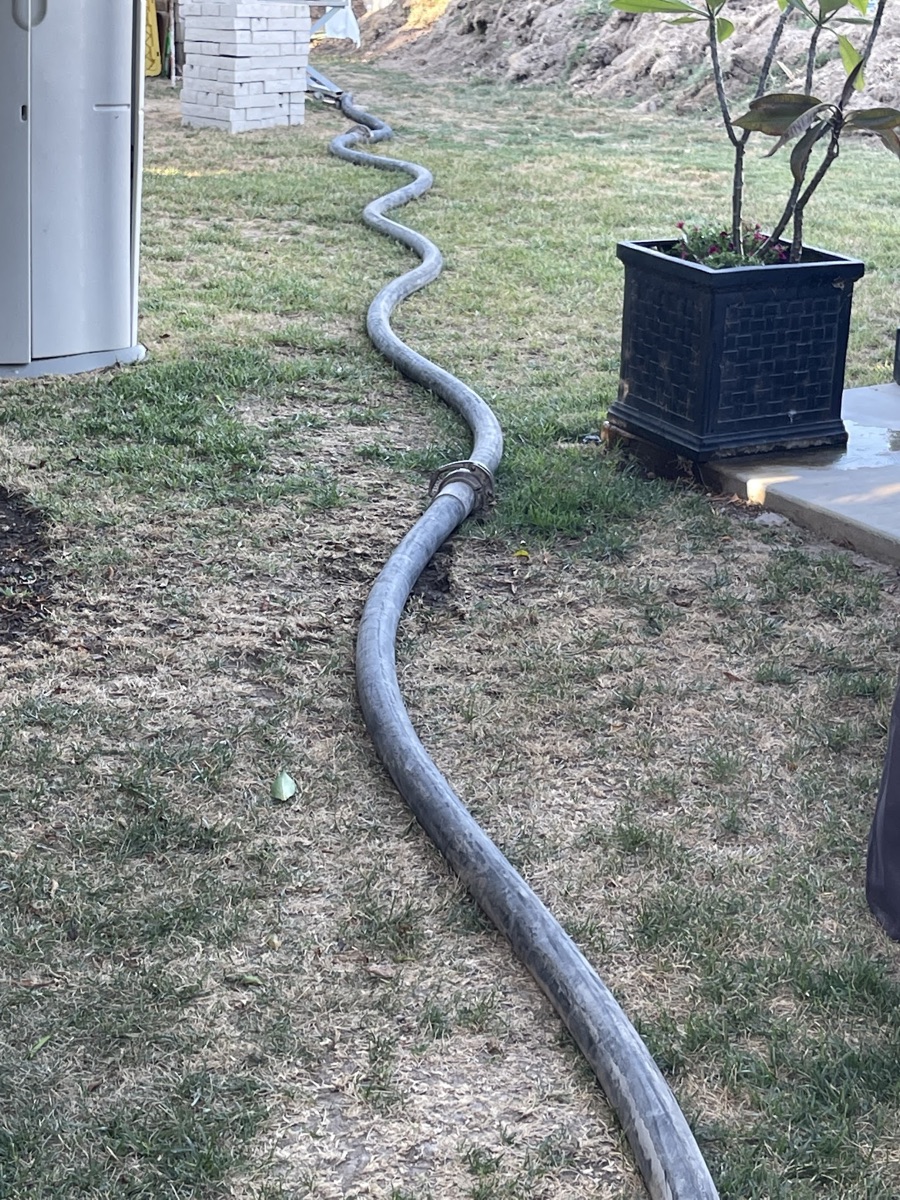
It snaked across the yard.

Gary made sure the height was correct.

The concrete is in and how we need one layer of concrete block.

A view from 100 feet up!
August 17th, The Beds Need A Careful Inspection

August 17th, Removing The Old Dirt

Ten yards per container!
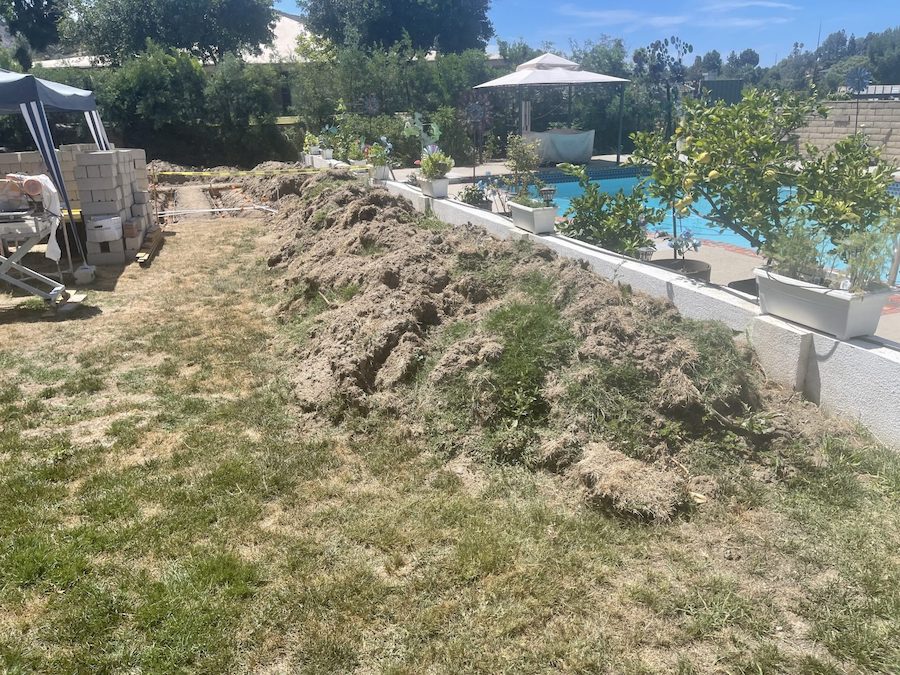
Out with the old; in with the new!
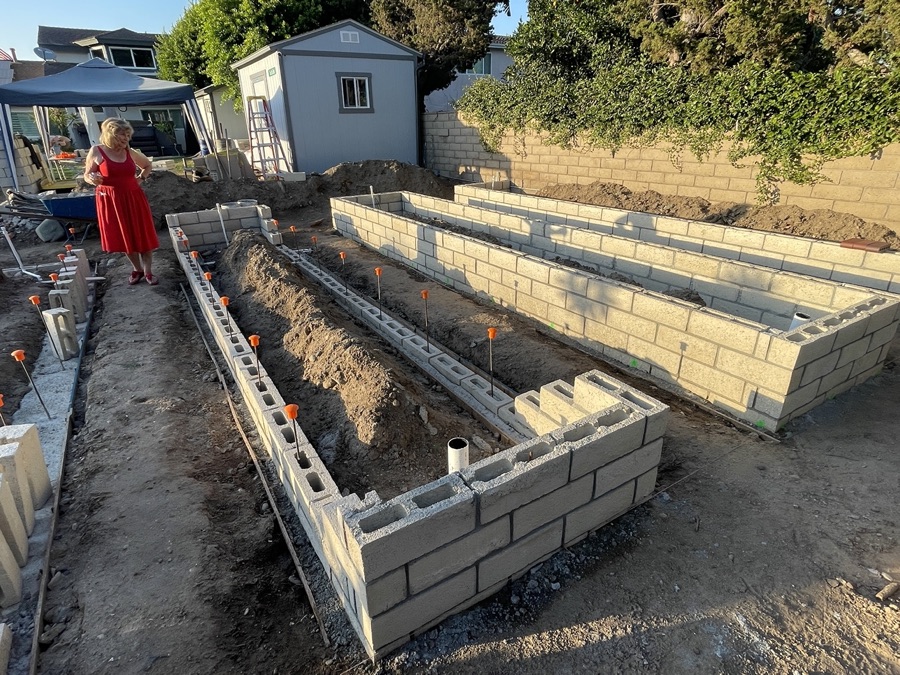
Mary does an afternoon inspection.
August 20th, More Progress!

The tent shades everyone from the hot sun!
August 27th, The Beds Are Easy To See Now
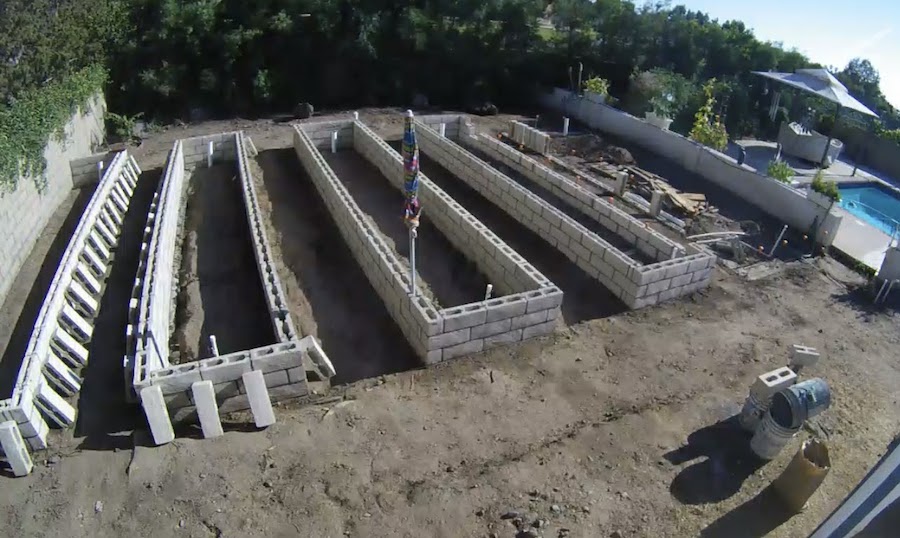
The view from the security camera.
August 28th, We Are Getting Closer

Eventually it will look like this!
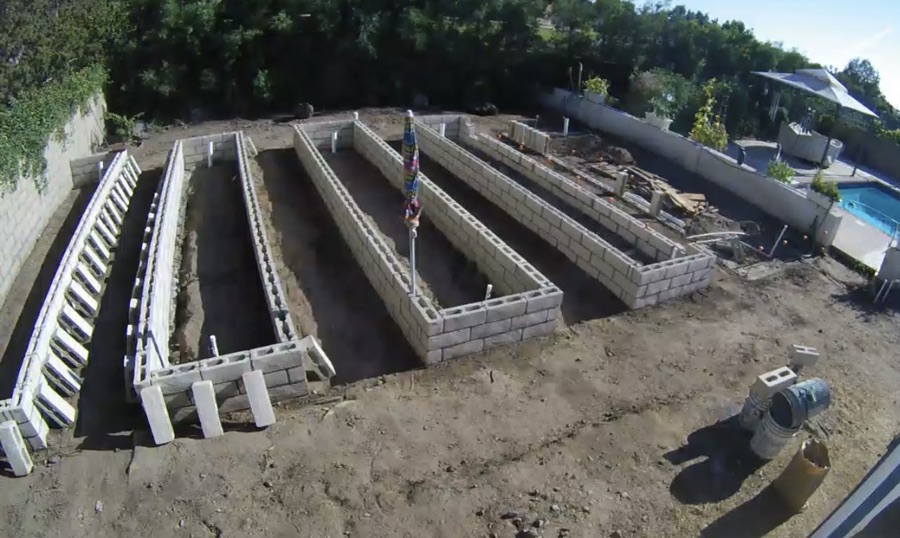
Another layer needed.
August 30th, We were Disturbing The Neighbors
All the messing around brought in some unwelcomed neighbors but we got the little suckers! At last count we nailed seven of them and we have traps ready to go when the garden goes in!

Nailed them!
September 1st, One More Layer Is Needed
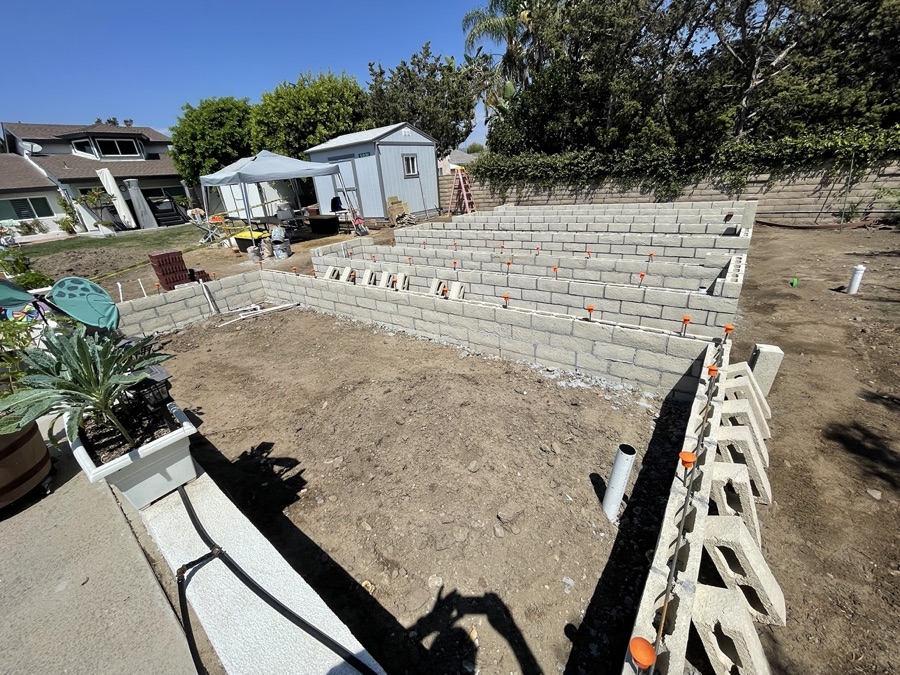
One last bed to go!
September 6th, The Walls Arise

The walls are up and now we prepare for the contrite to into the walls and along with the rebar, it will be a great bomb shelter1
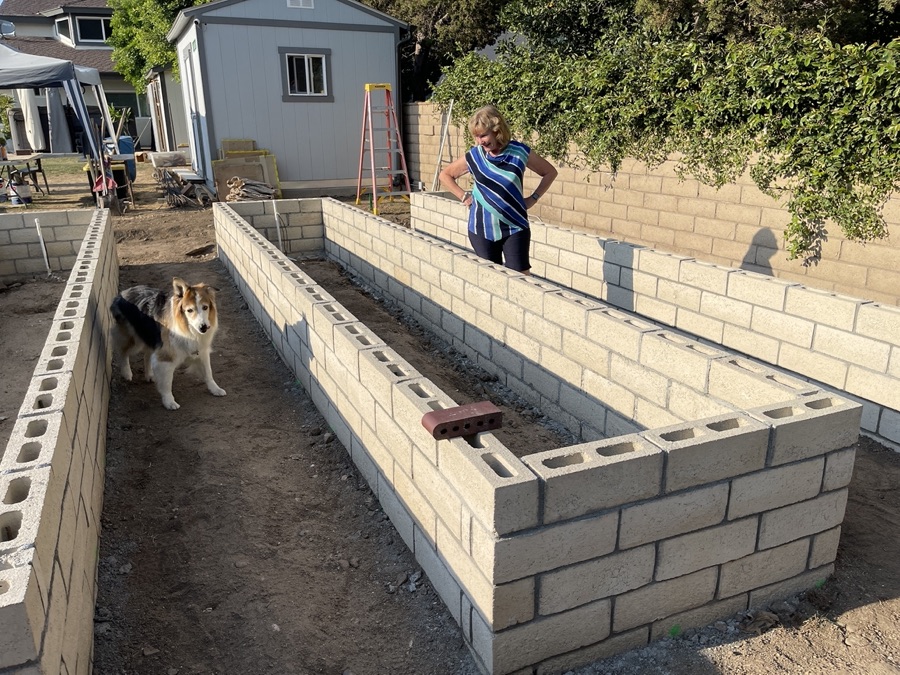
We check the height to make sure Mary can sit and garden with the bullet nose brick in place.
September 7th, The Waterproofing Begins
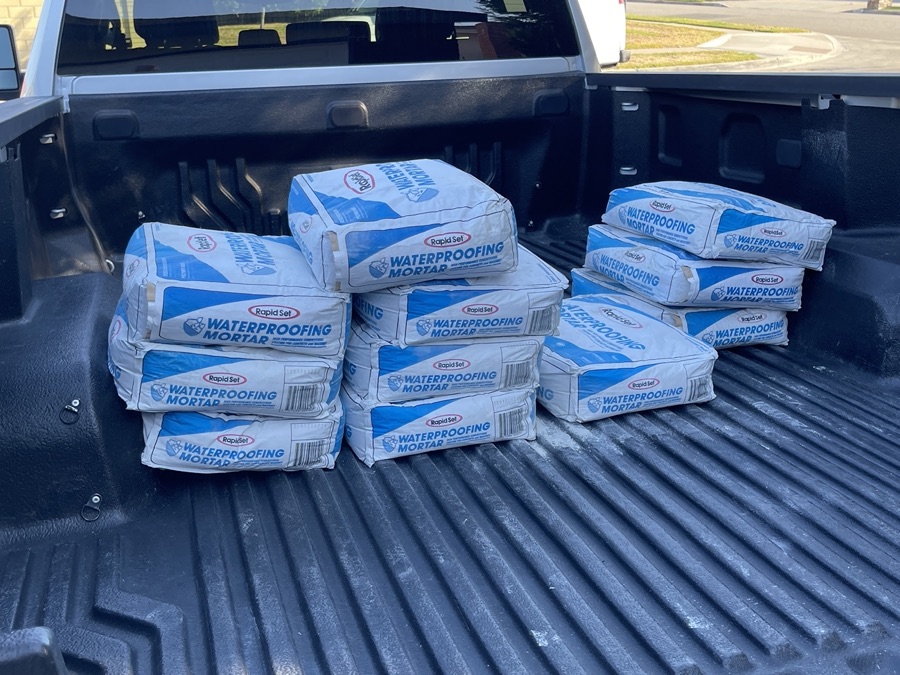
The beds needed to be waterproofed sp in comes the materials.
Did You Know? - Hydrophobic concrete is concrete that repels water. It meets the standards outlined in the definition of waterproof concrete. Developed in Australia in the mid-20th century, millions of cubic yards of hydrophobic concrete have been laid in Australia, Asia, and Europe, and in the United States since 1999. Its effective use in hundreds of structures has contributed to its large acceptance and growing use.
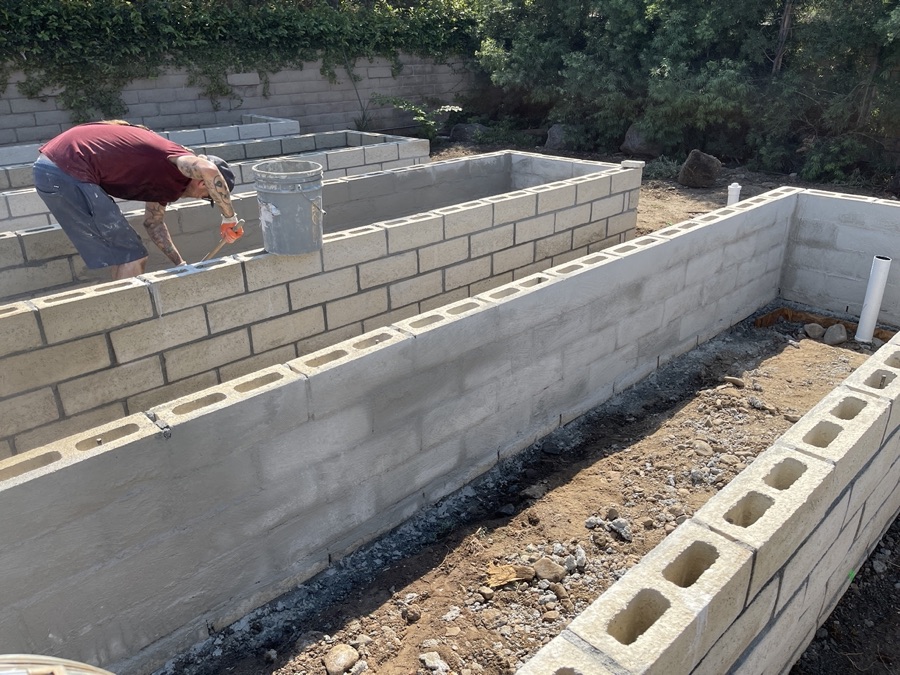
Now the inside walls are totally waterproof!
September 8th, Concrete Goes Into The Walls
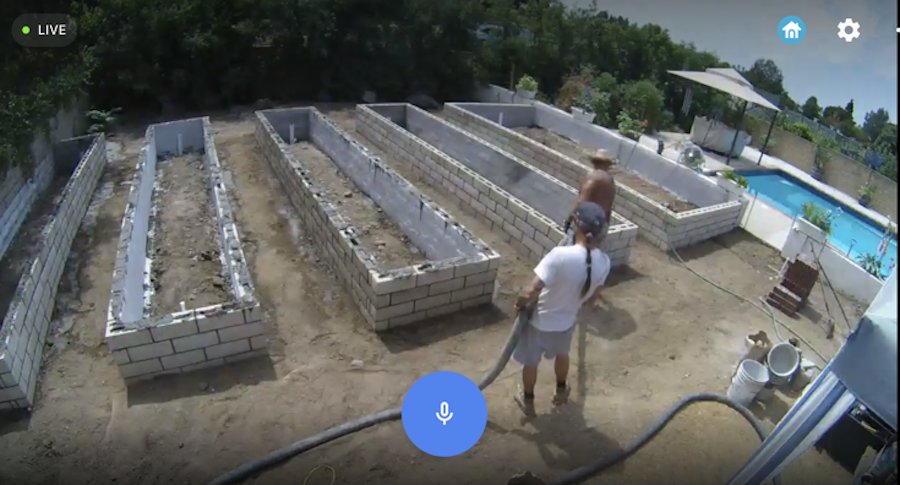
Ready to pour concrete down each hole in the wall!
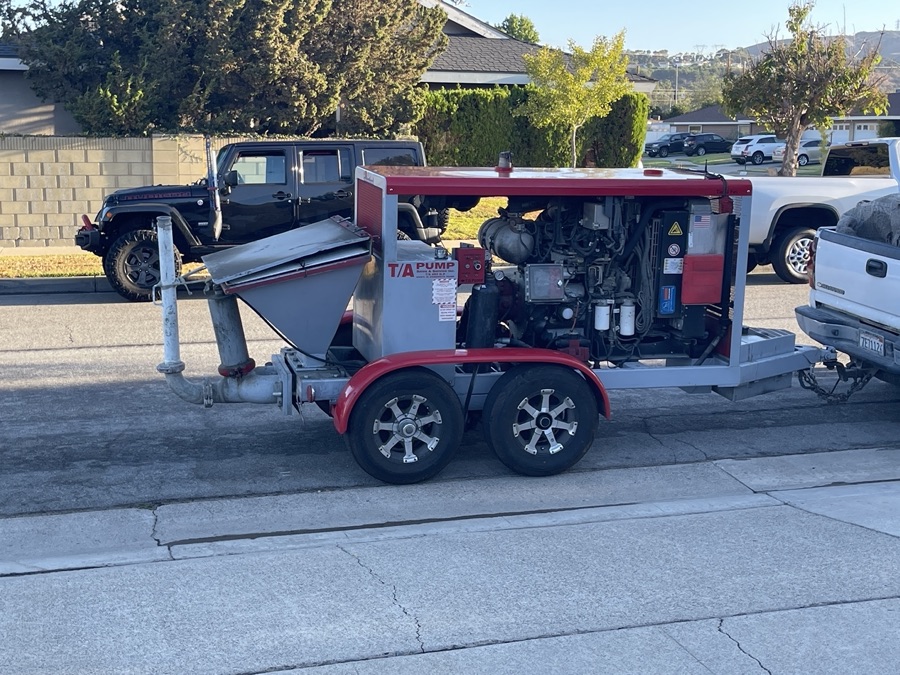
The pumper is ready to go!
September 14th, On With The Bull Nose Bricks
Did You Know? - Bullnose trim is used to provide a smooth, rounded edge for countertops, staircasesteps, building corners, verandahs, or other construction. Masonry units such as bricks, concrete masonry units or structural glazed facing tiles may be ordered from manufacturers with square or bullnosed corners.
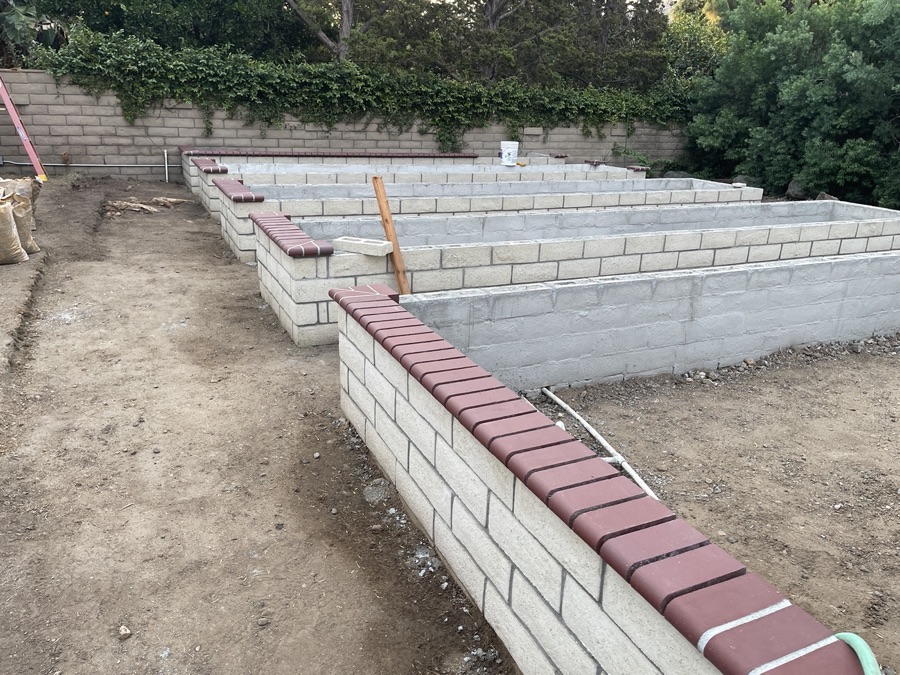
It took a week to get the bullnose in place.
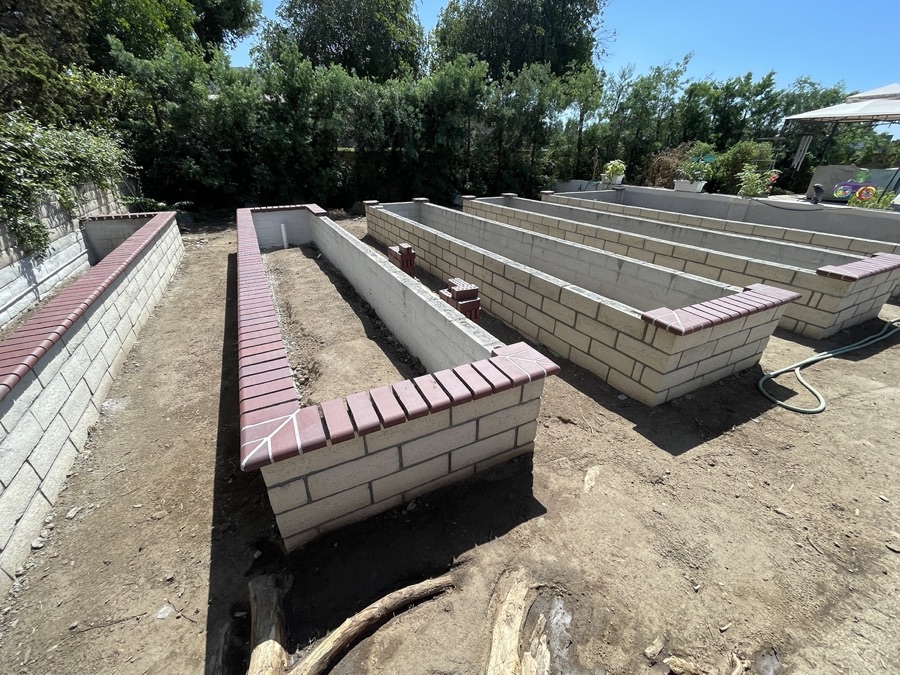
The workmanship is perfect!
September 16th, More Bull Nose

The last of the bullnose it stacked up and ready to be put into place!
September 20th, Now We Needed Iron In The Walkways
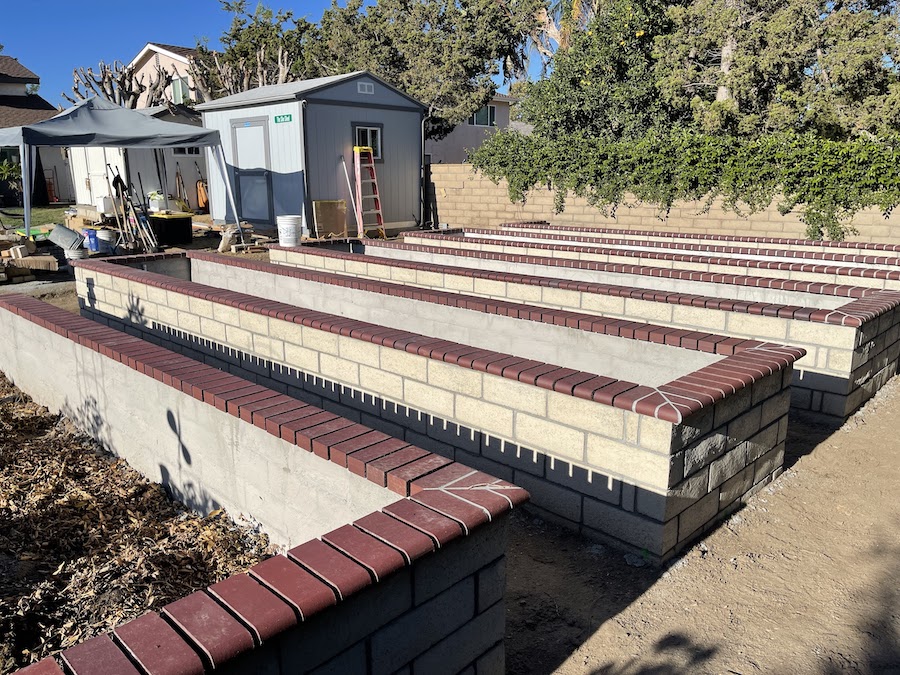
Bullnose is in and
ready for more rebar.
September 27th, Rebar Goes In
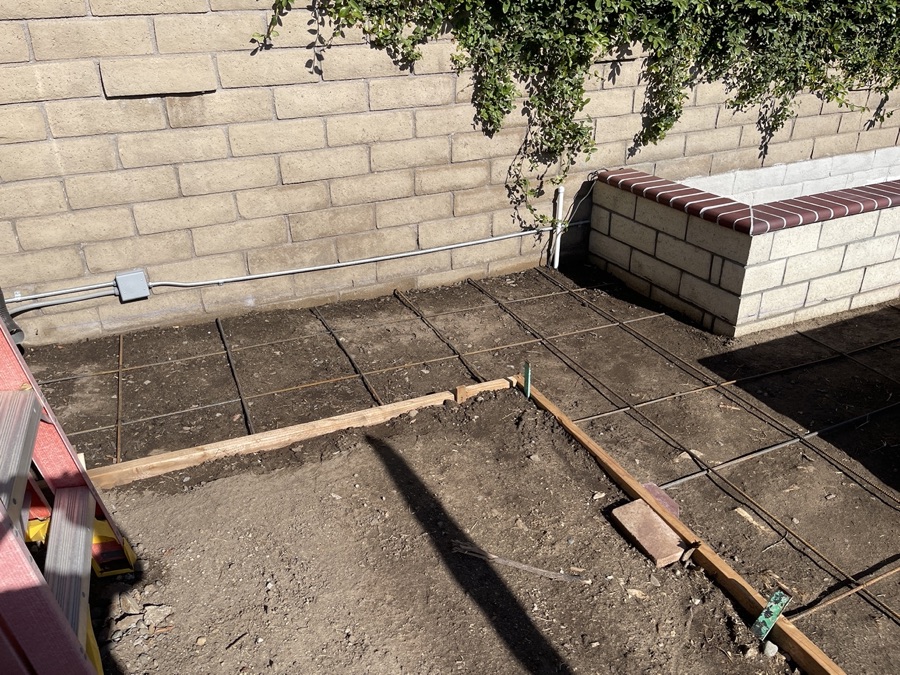
This pad is ready for the sink and potting bench!
Did You Know? - Rebar (short for reinforcing bar), known when massed as reinforcing steel or reinforcement steel, is a steel bar used as a tension device in reinforced concrete and reinforced masonry structures to strengthen and aid the concrete under tension. Concrete is strong under compression, but has weak tensile strength. Rebar significantly increases the tensile strength of the structure. Rebar's surface features a continuous series of ribs, lugs or indentations to promote a better bond with the concrete and reduce the risk of slippage. The most common type of rebar is carbon steel, typically consisting of hot-rolled round bars with deformation patterns embossed into its surface. Steel and concrete have similar coefficients of thermal expansion, so a concrete structural member reinforced with steel will experience minimal differential stress as the temperature changes.
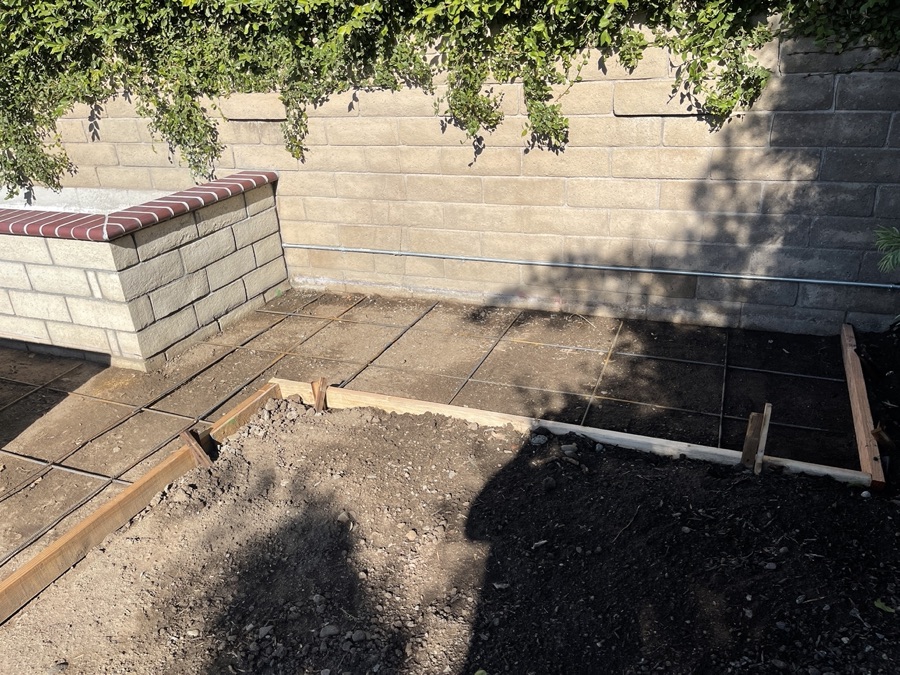
The south pad will enable us to have a storage shed and a place for straw.
September 27th, Rebar Goes In

Taken from the security camera
September 1st, All Wrapped Up
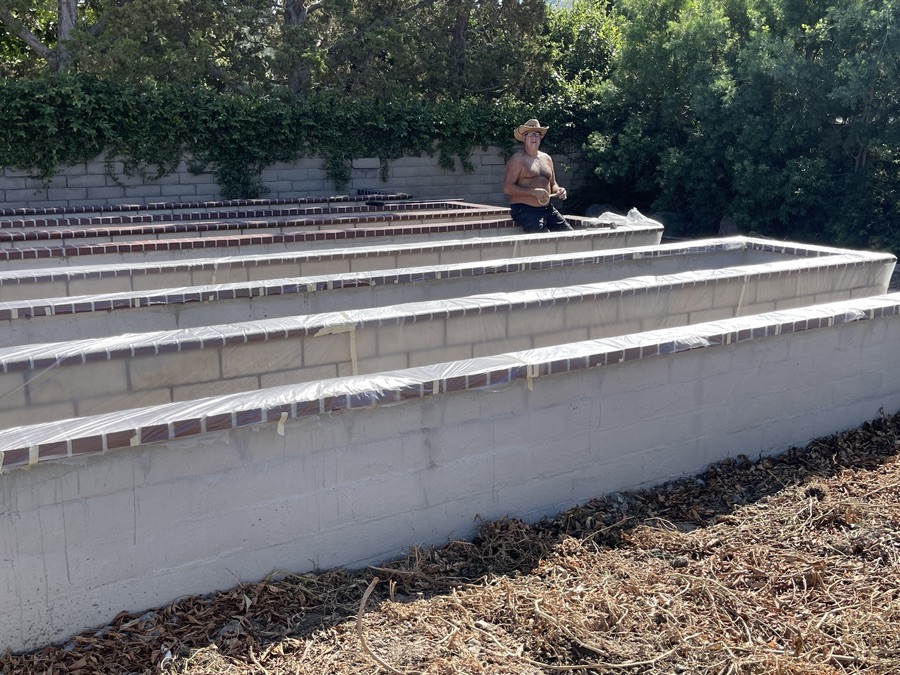
The walls were wrapped in plastic sheet to prevent them from being splattered when the walkways are poured.

The wrap covered everything.
October 3th, The Big Pour (And We Are In Detroit)
We wanted to be there but the surgery required us to be in Deroit. Bob Zaitz, my brother by another mother, came over and made sure all went well. He acted as the communications expert since the walkie-talkies could not make the 200 foot distance between the pumper and the pour.
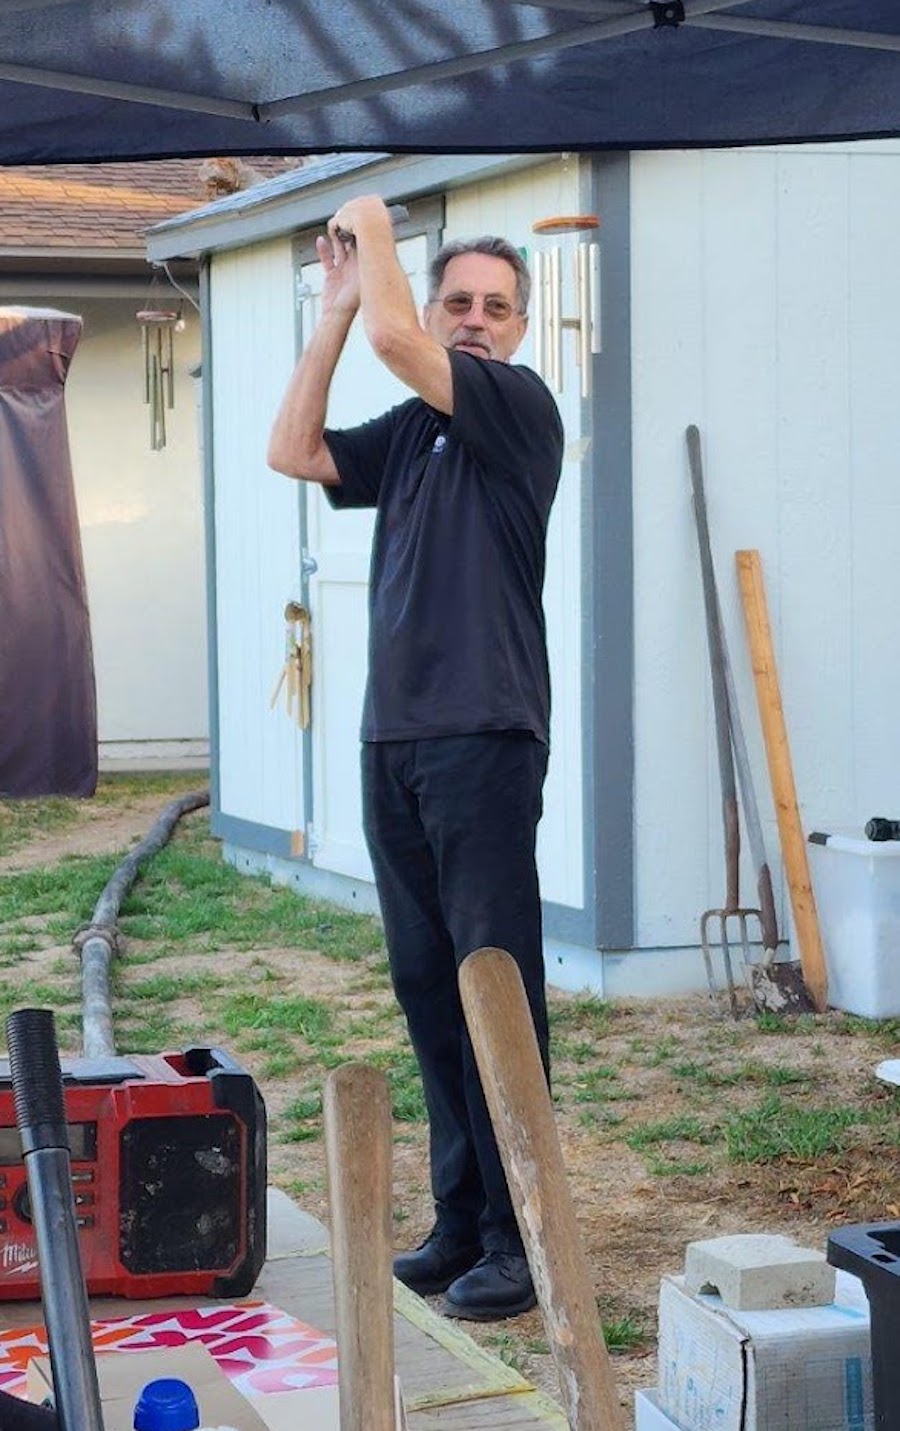
"Stop... Go... Slow... Stop Go!"

The finished product.

Thank you Colleen for marking the slab and getting Scouts cooperation!
October 7th, We Are Home And It Is 99% Done

Some last minute additions; drains and electrical outlets.

Mary's sink is installed!

The berry garden is ready to receive new soil!

October 21st The Truck Arrives!
We got the soil from the neighborhood supply house which was one black away!
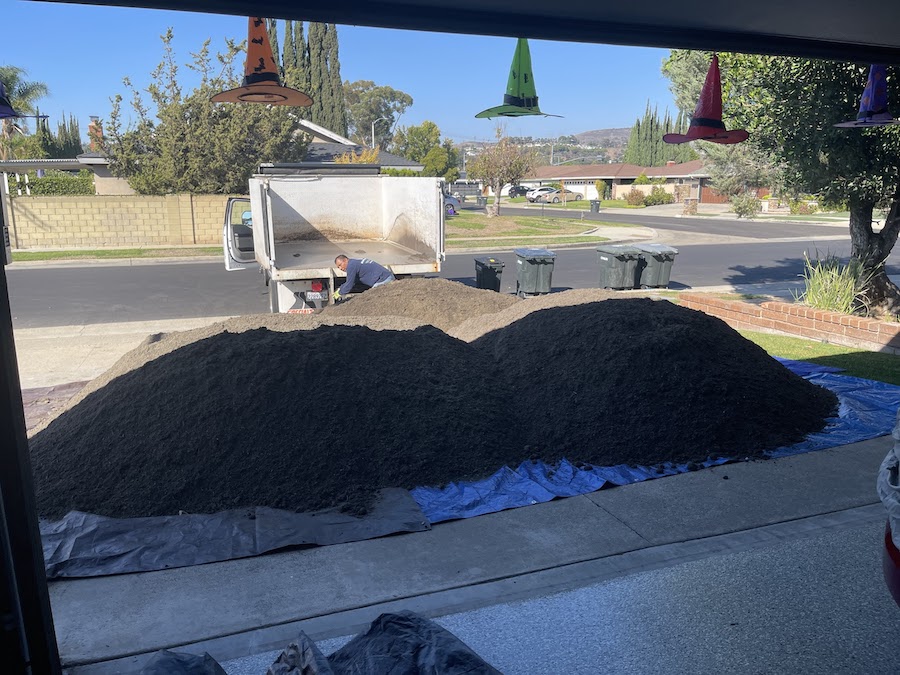
Four yards of dirt; 50,000 pounds.

The driveway is full!

Six guys trucked the soil to its new home using wheelbarrows.
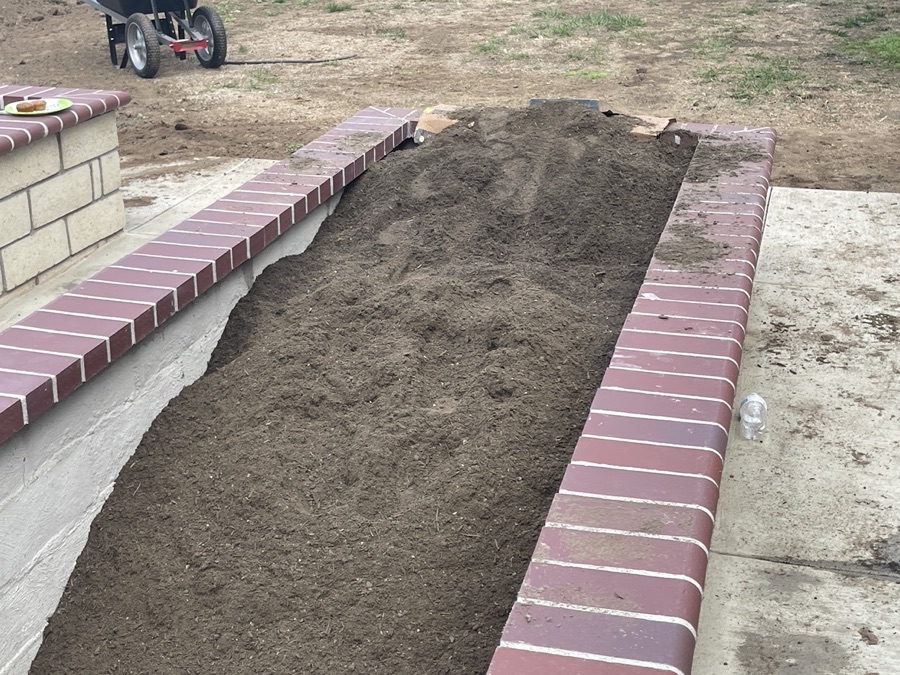
Good looking soil!

Shoveling pound by pound.
80,000 pounds.

We mixed in loads of perlite into the soil by hand.
Did You Know? - Perlite softens when it reaches temperatures of 850–900 °C (1,560–1,650 °F). Water trapped in the structure of the material vaporises and escapes, and this causes the expansion of the material to 7–16 times its original volume. The expanded material is a brilliant white, due to the reflectivity of the trapped bubbles.
Pure horticultural grade perlite. Grade 1, Fine Coarseness (granule size about one-eighth of an inch.) Perlite is made from all-natural volcanic rock that is heated under pressure until it explodes like popcorn, leaving a white puff that is so light that it will actually float.
The most important one is drainage. Perlite is a natural filtration system, allowing excess water to easily drain away while retaining a little moisture and catching nutrients that plants need to grow. This is especially true in raised beds and container gardens, in commercial potting soil, but also in the ground as well.
Perlite is added to soil and soil-less potting mixes (like coconut coir) to provide additional aeration, drainage, and insulation for roots against extreme cold. Perlite helps keep soil from compacting
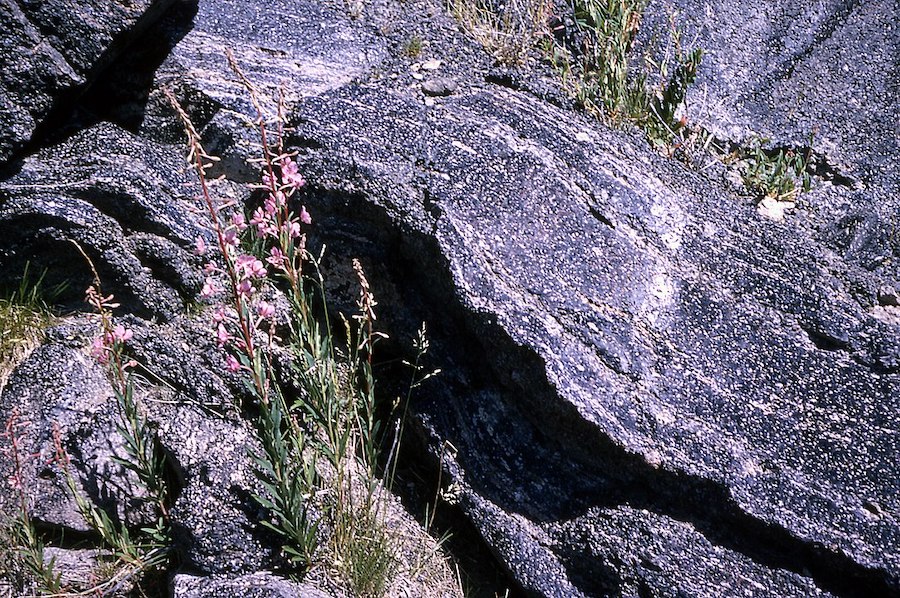
Perlite comes from lava rock. This is before high temperature processing.

Miss Mary waters the berries.

In a few months we will have berries.
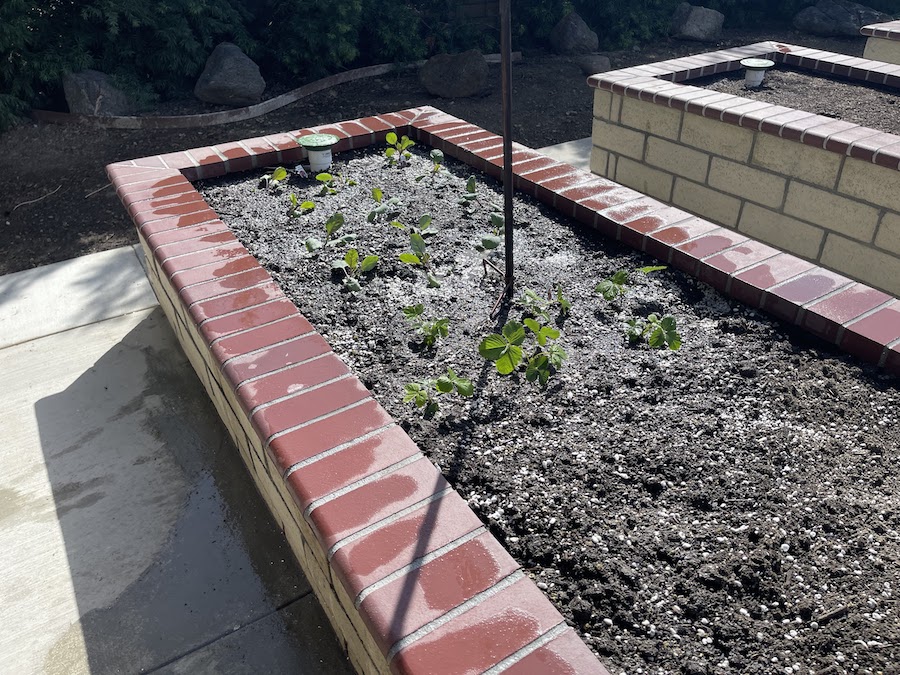
The first of many veggies are in the ground.
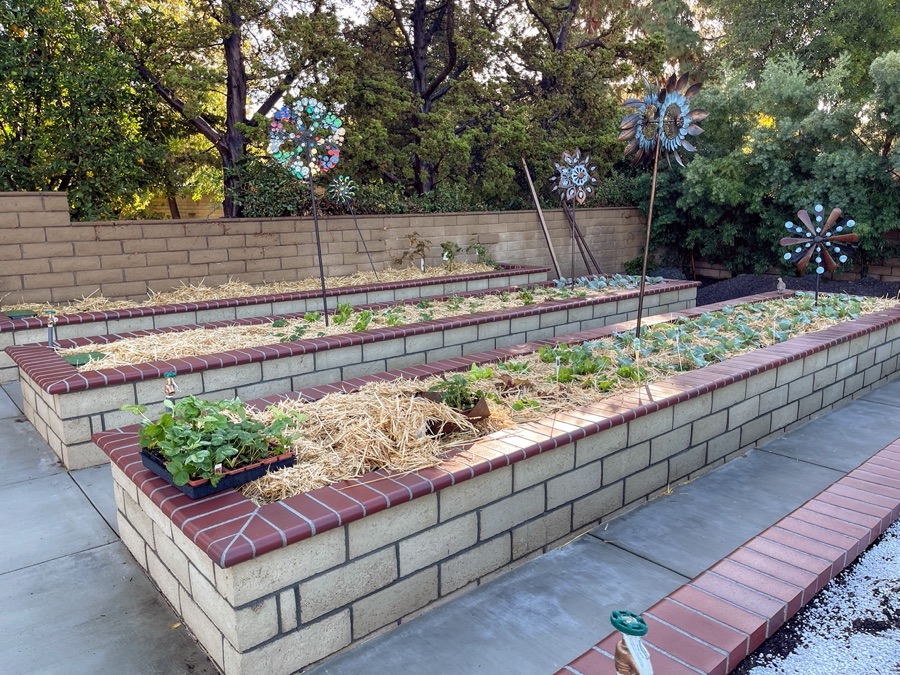
Mulch is added as we go!
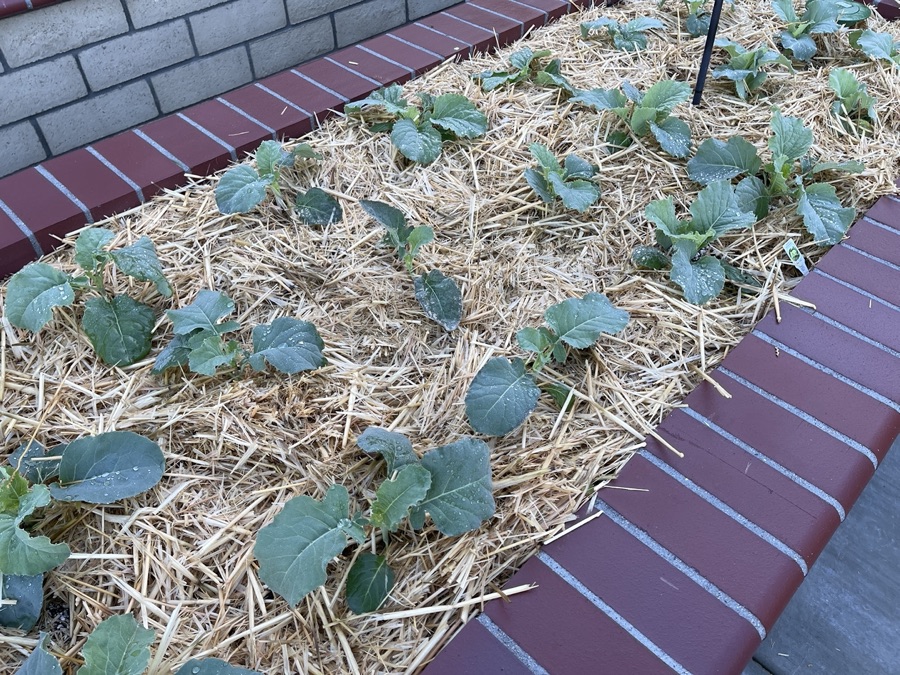
Straw mulch is cheap and very effective.
Did You Know? - A mulch is a layer of material applied to the surface of soil. Reasons for applying mulch include conservation of soil moisture, improving fertility and health of the soil, reducing weed growth and enhancing the visual appeal of the area.

Jammy gardening, my favorite!
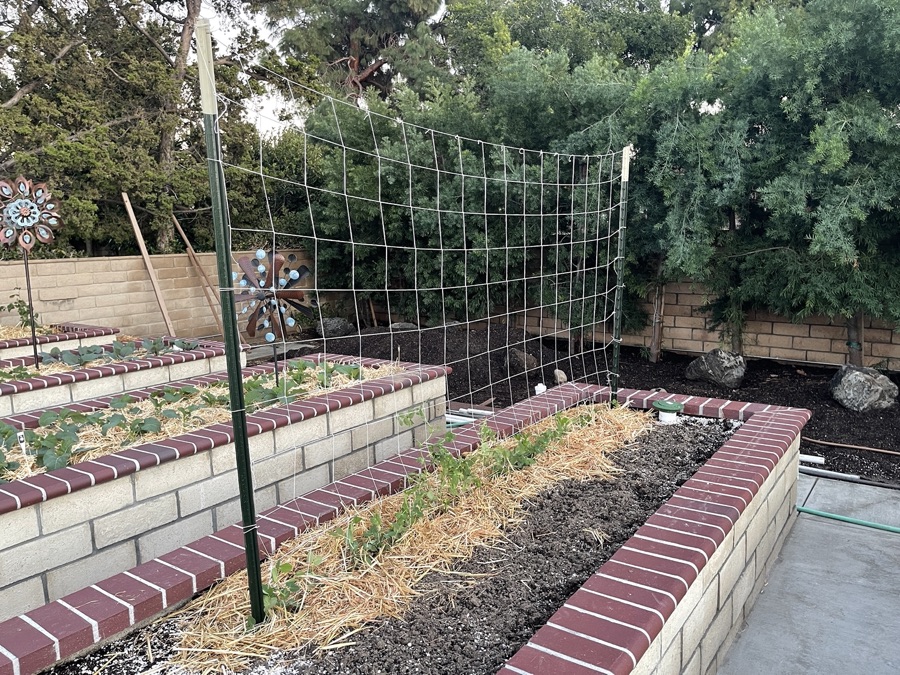
The nets go up for the peas which are climbers.
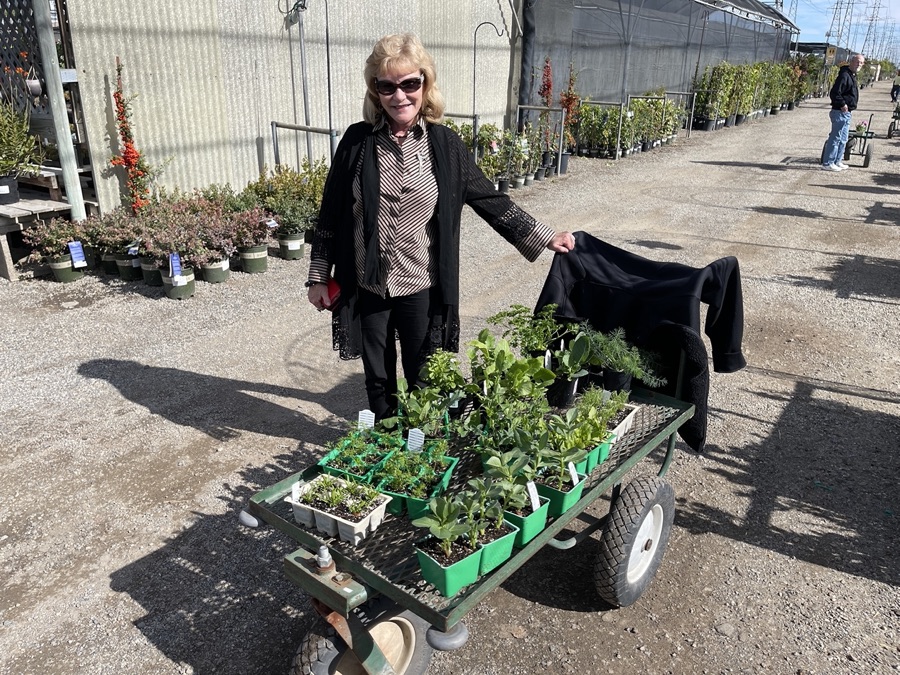
Off to H&H Nursery for supplies!

Even Poppy gets to select crops for the garden!

The straw mulch worked perfectly taking about two bales to cover the area in its entirety.
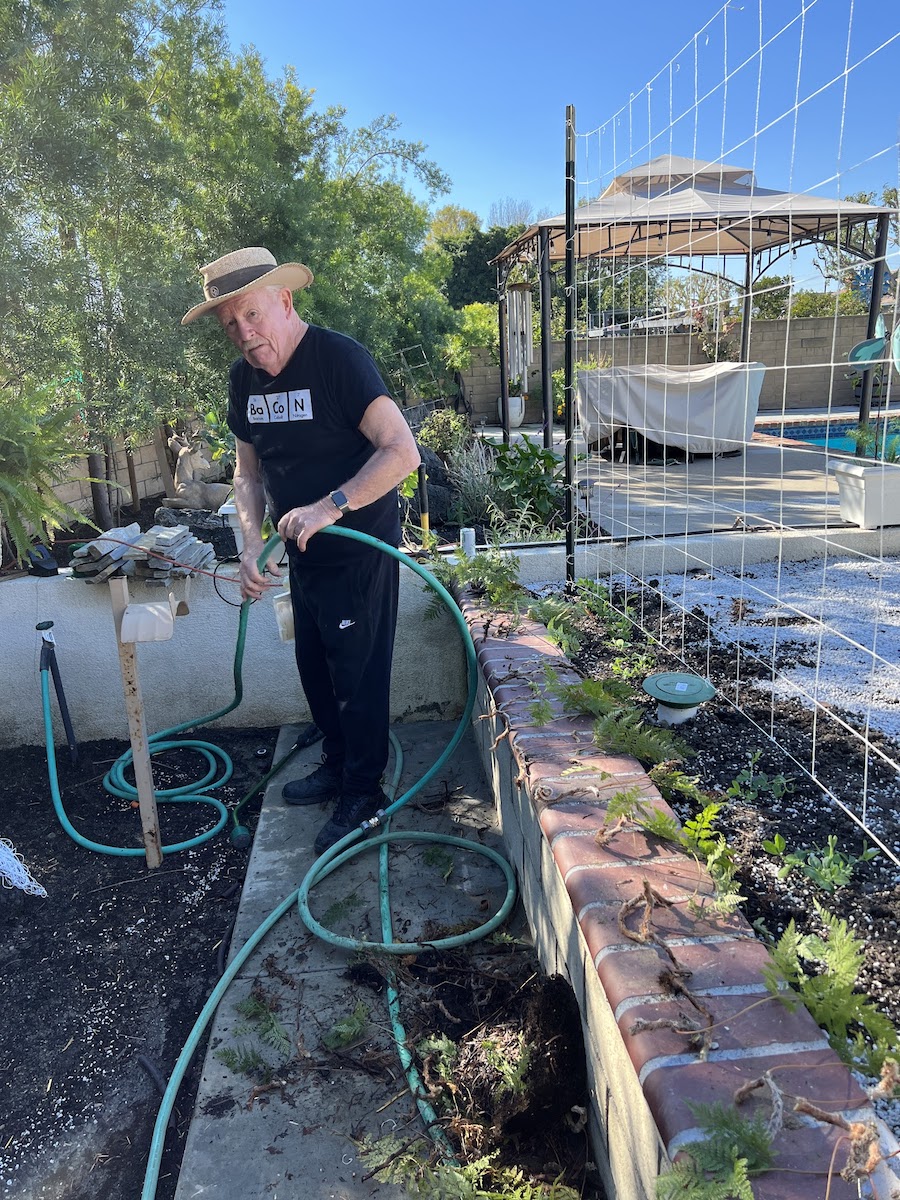
Just putting on the final touches.


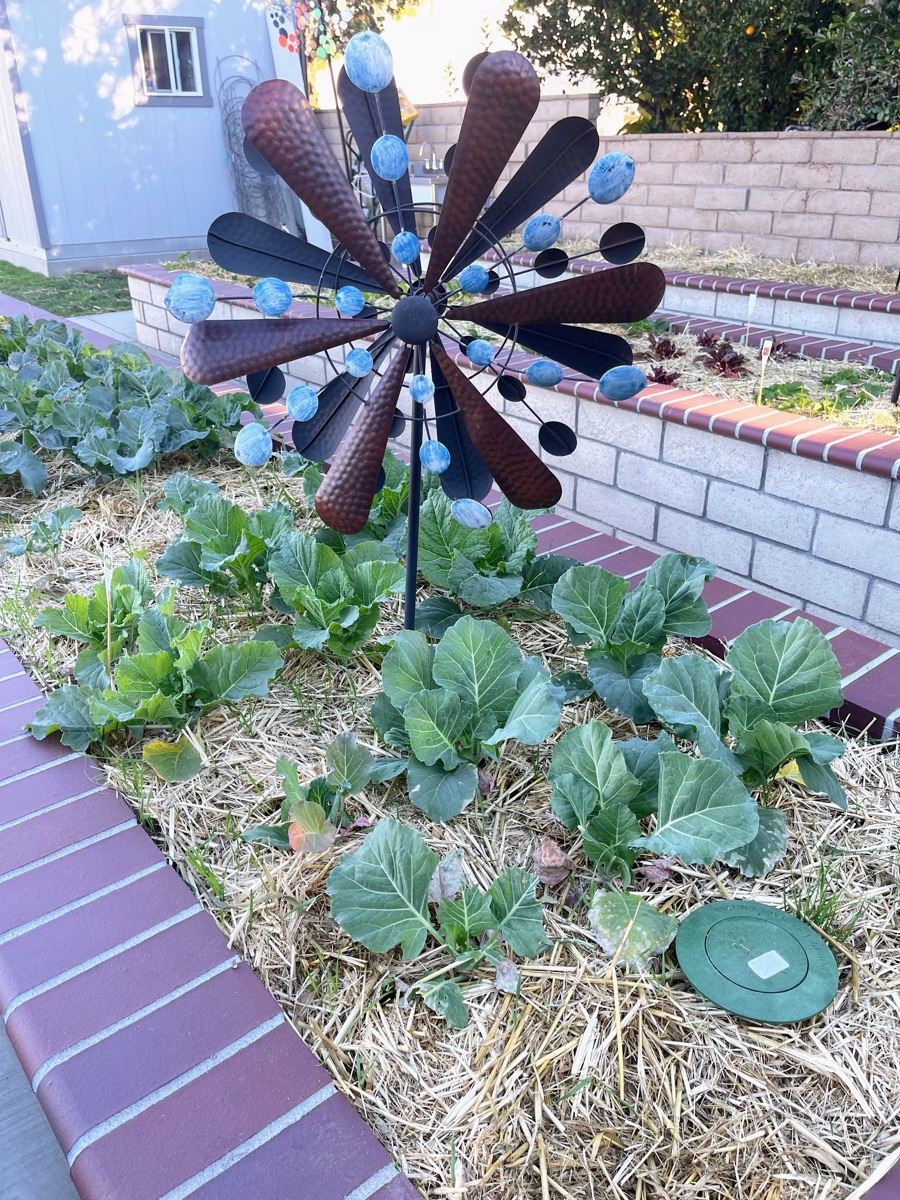
Going strong
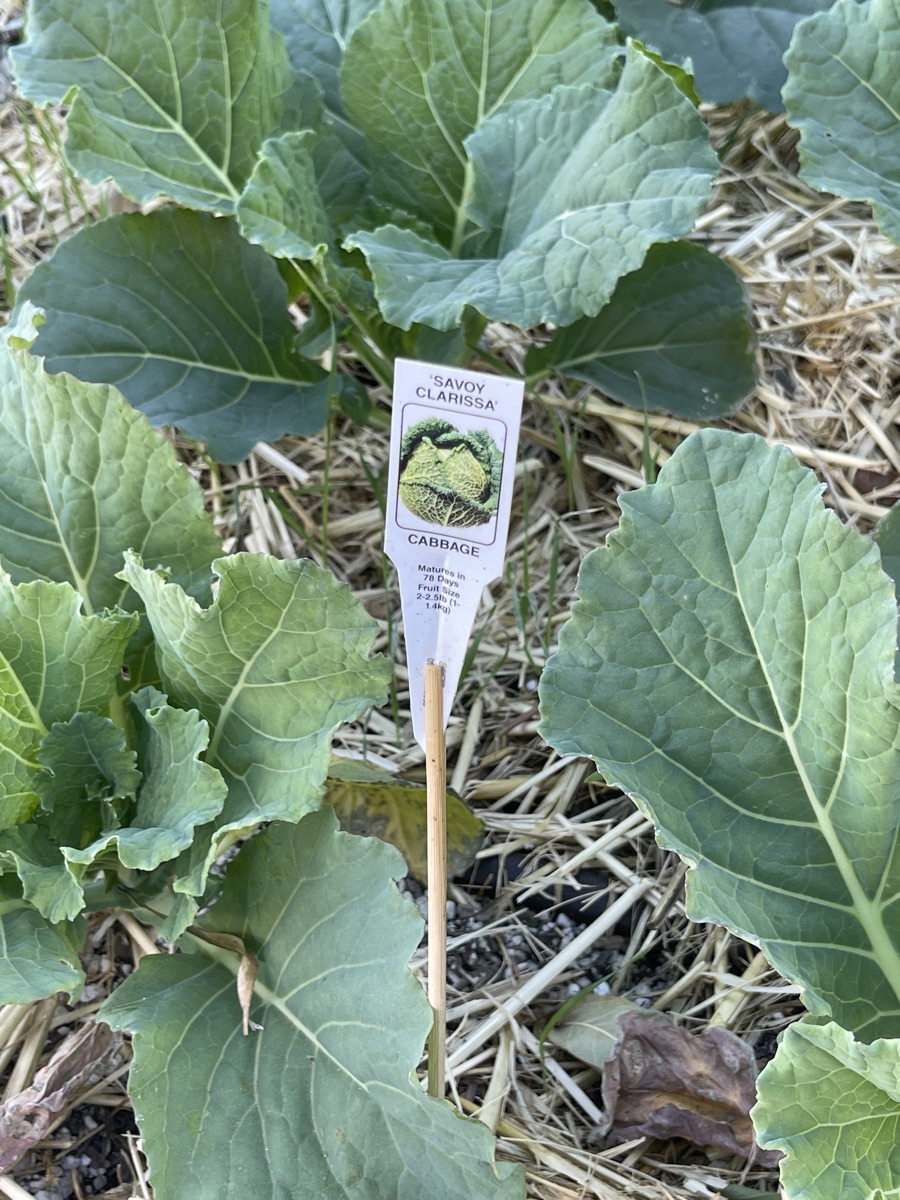
St. Patricks Day meal is being grown now!
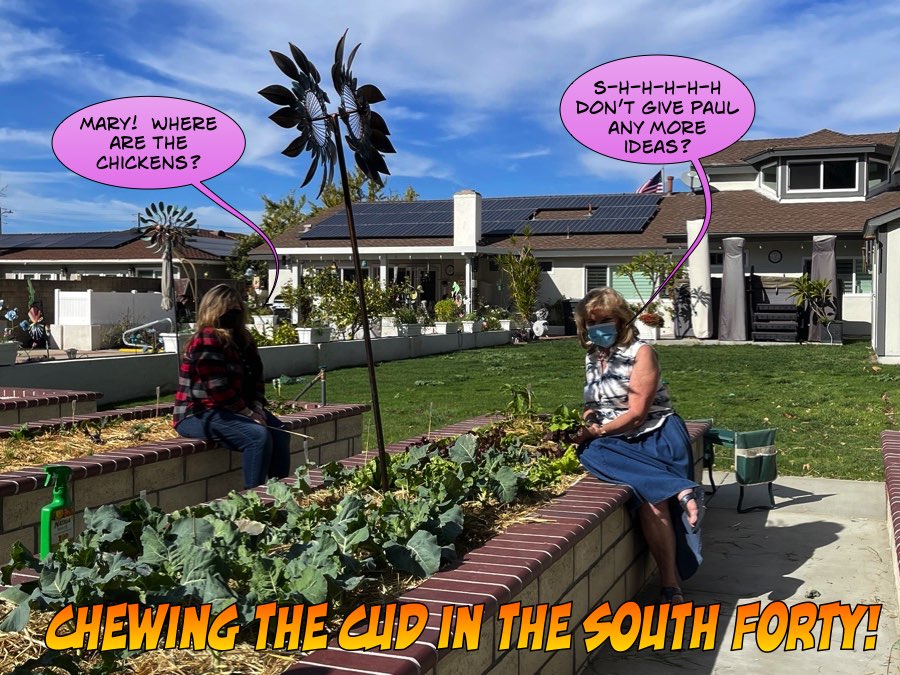
A place to visit
